
Behind the Tile: The Life Cycle of a Shower Remodel
When you see a beautiful new shower, it’s easy to notice the tile, fixtures, niche, glass, and finishing touches.
But what really determines whether that shower will perform for years happens long before the first piece of tile goes up.
At LG2 Services, we believe homeowners should understand what goes into building a shower the right way. So, let’s take you behind the scenes—from rough-in to waterproofing to the final reveal.
Stage 1: Demo & Discovery
Every shower renovation starts by taking the old one apart.
Once the existing tile, shower pan, backer material, and fixtures are removed, we can see what’s actually happening behind the walls.
This is an important stage because demolition can reveal hidden problems such as water damage, deteriorated framing, mold or moisture issues, improperly installed plumbing, or previous construction shortcuts.
Before rebuilding begins, those issues need to be addressed.
A great shower starts with a solid foundation.
Stage 2: Framing & Rough-In
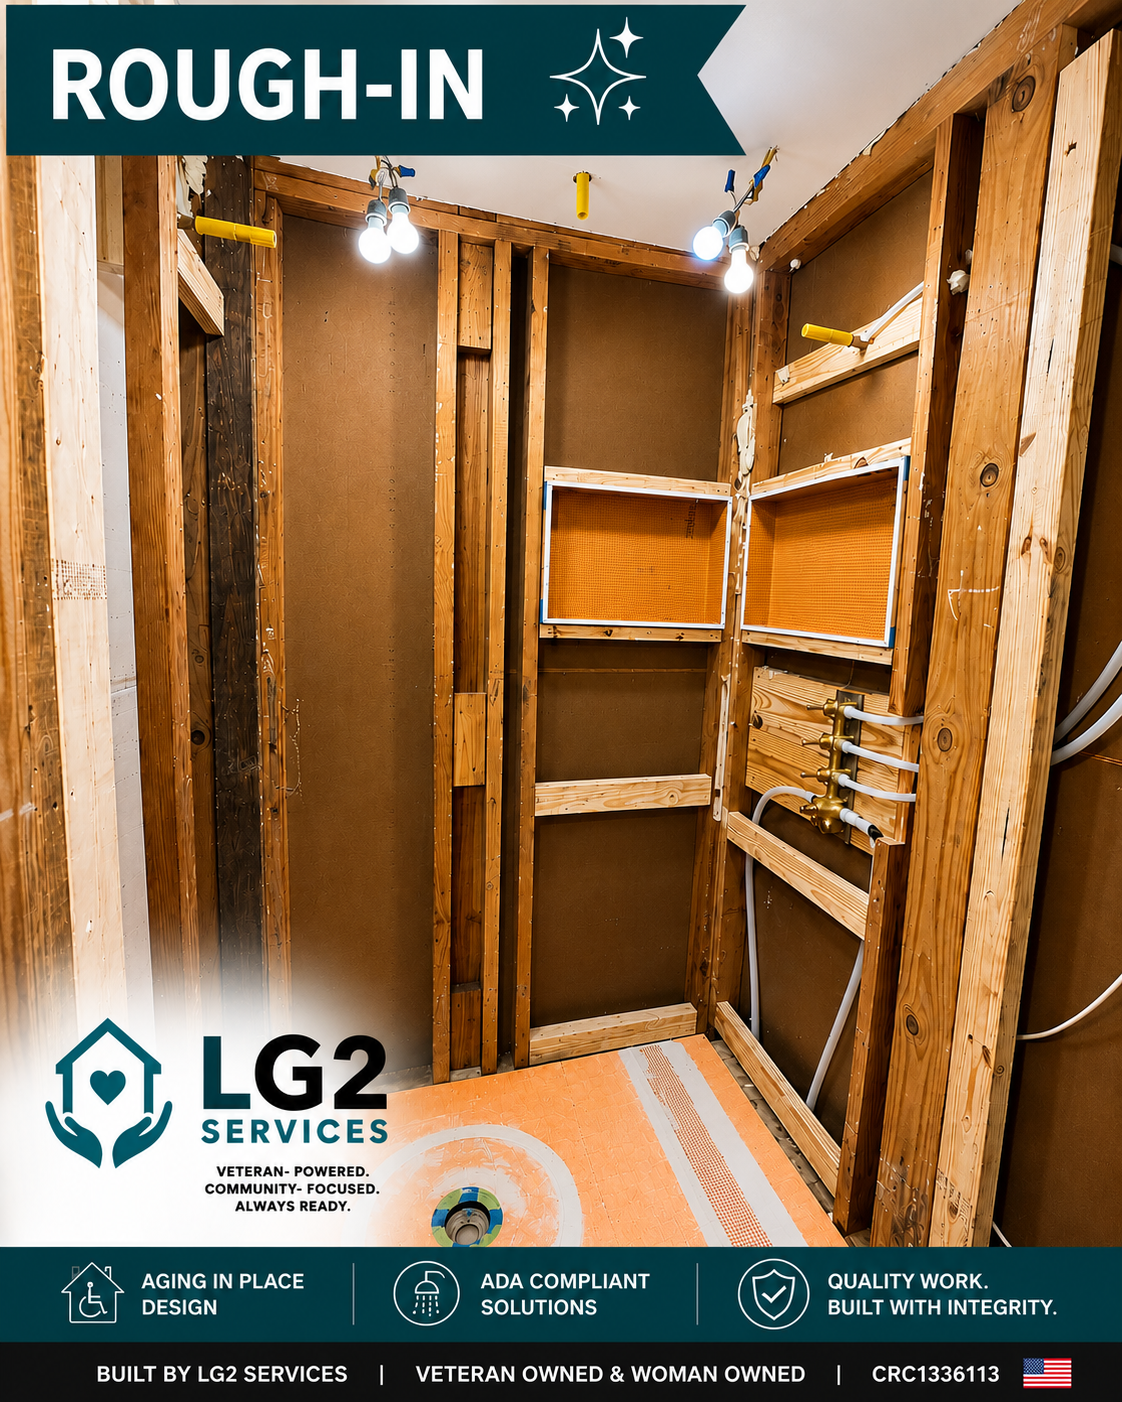
Now the new shower begins taking shape.
Framing is adjusted or rebuilt as necessary to accommodate the shower layout, niches, benches, grab bars, doors, and other features.
This is also when the plumbing rough-in takes place. Supply lines, valves, shower heads, handheld fixtures, and drains must be properly positioned before the walls are closed.
For accessible or aging-in-place showers, this stage is especially important. Blocking for future grab bars, shower seating, handheld shower heads, and low- or zero-threshold entries should be planned now—not after the tile is installed.
Good planning behind the walls makes the finished shower safer and more functional.
Stage 3: Building the Shower Base
The shower floor is much more than tile.
The base must be constructed so water travels toward the drain instead of collecting underneath the finished surface.
Depending on the shower system being installed, this may include a properly sloped mortar bed, prefabricated shower tray, curb or curbless transition, and integrated drain system.
Getting the slope and drainage right at this stage is critical.
Stage 4: Waterproofing — The Part You Never Want to Skip
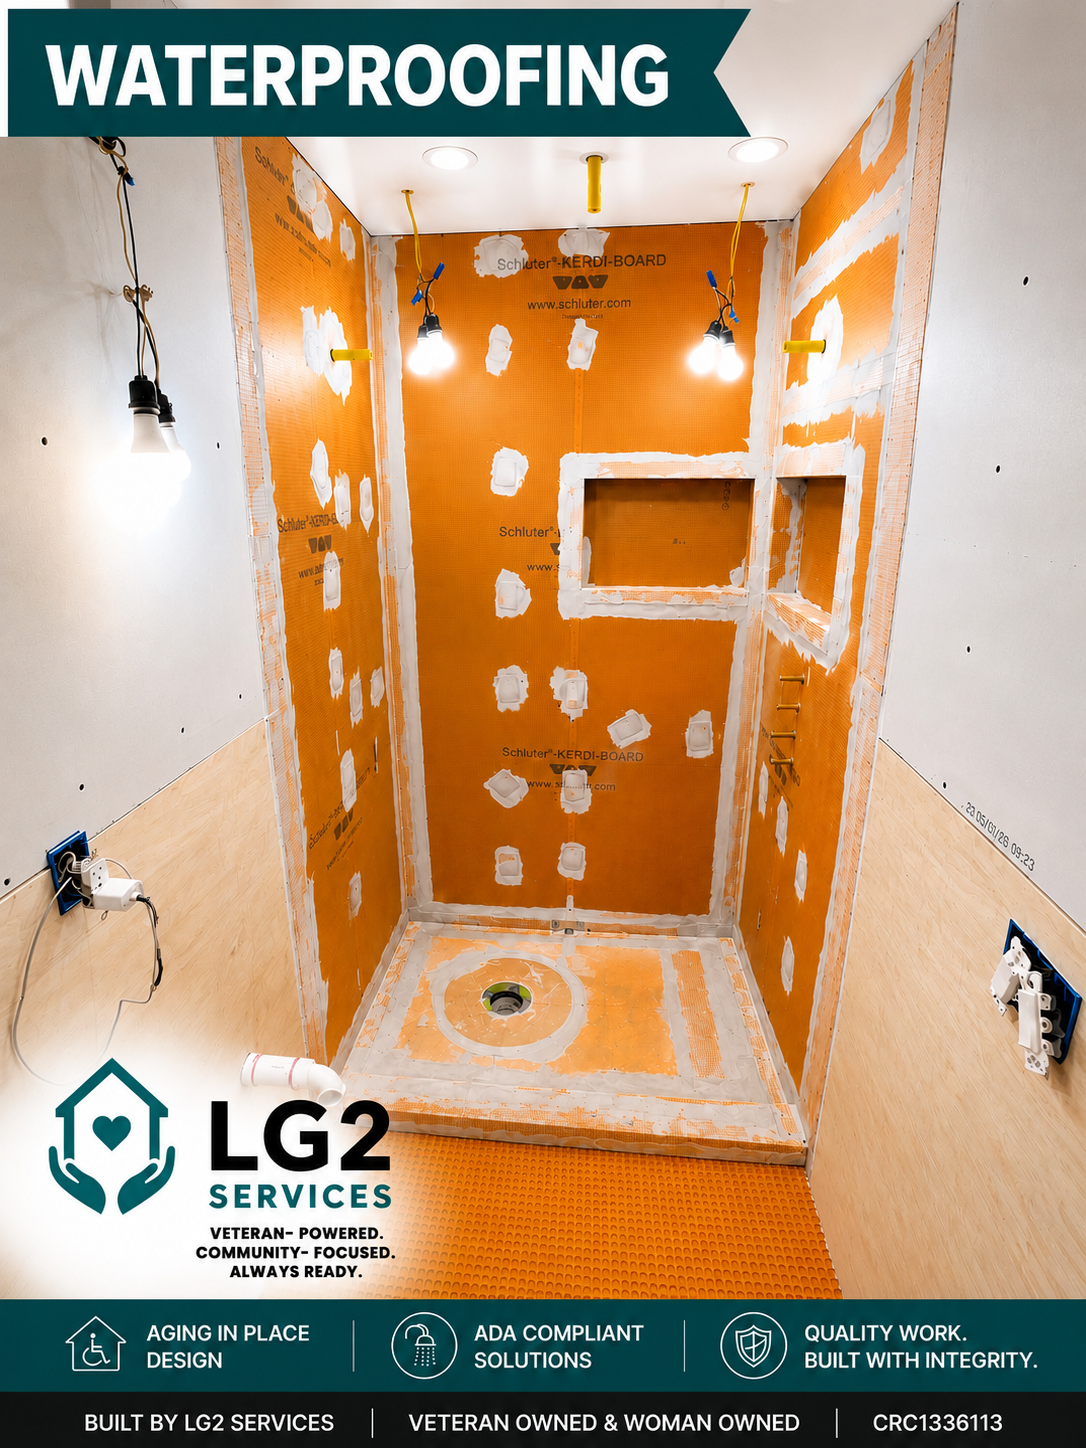
This might be the most important stage of the entire shower.
Tile and grout are not the waterproofing system.
A properly constructed shower has a waterproof layer underneath the finished tile that helps prevent water from reaching the framing and surrounding structure.
The walls, shower pan, corners, seams, niches, penetrations, and transitions must all work together as one continuous waterproofing system.
Depending on the project, LG2 Services may use a complete shower waterproofing system such as Schluter® products to create that protective envelope.
Once everything is waterproofed, the shower may not look glamorous yet—but this is where some of the most important craftsmanship happens.
Pretty tile gets the attention. Proper waterproofing protects the home.
Stage 5: Tile Layout & Installation
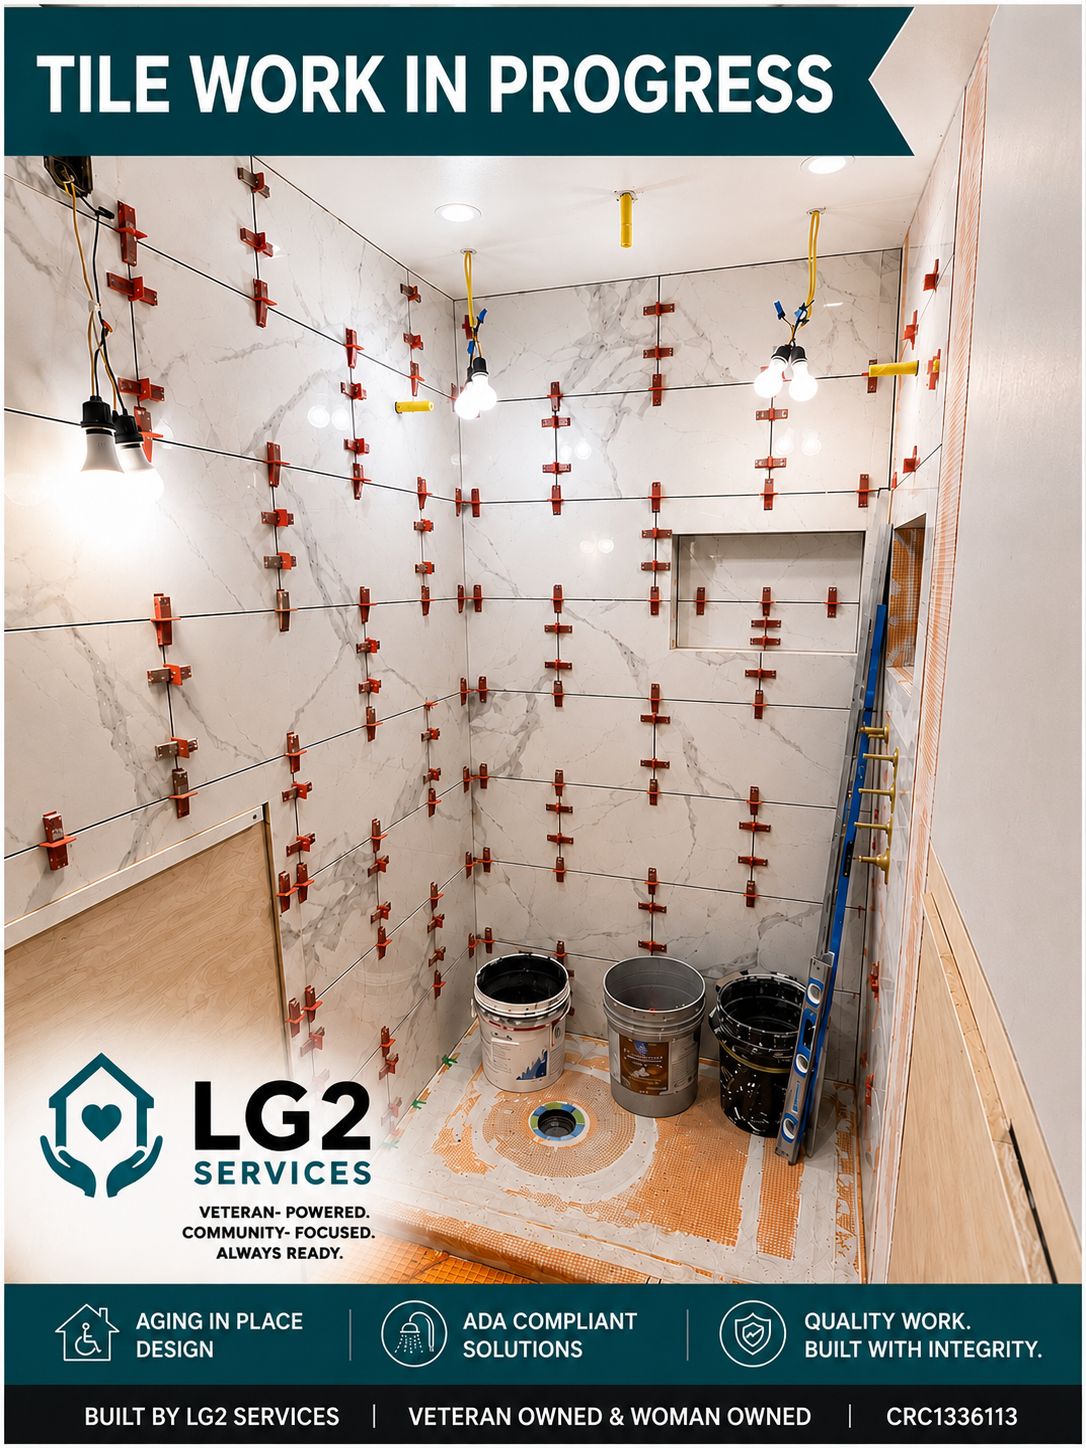
Now the transformation really becomes visible.
Before setting tile, we plan the layout carefully. The goal is to create balanced lines, clean transitions, intentional cuts, and proper alignment around niches, fixtures, corners, and other focal points.
Tile installation isn't simply about putting pieces on a wall.
Spacing, coverage, alignment, slope, transitions, and attention to detail all contribute to the finished result.
This is the stage where craftsmanship starts becoming art.
Stage 6: Grout, Fixtures & Finishing Details
Once the tile installation is complete and properly cured, grout is installed and the finishing work begins.
Depending on the project, this can include:
Shower valves and trim
Shower heads and handheld sprayers
Grab bars
Shower seating
Shelving and niches
Doors or glass enclosures
Caulking and appropriate sealants
Final trim and touch-ups
Every detail matters because these are the elements homeowners will interact with every day.
Stage 7: The Final Reveal
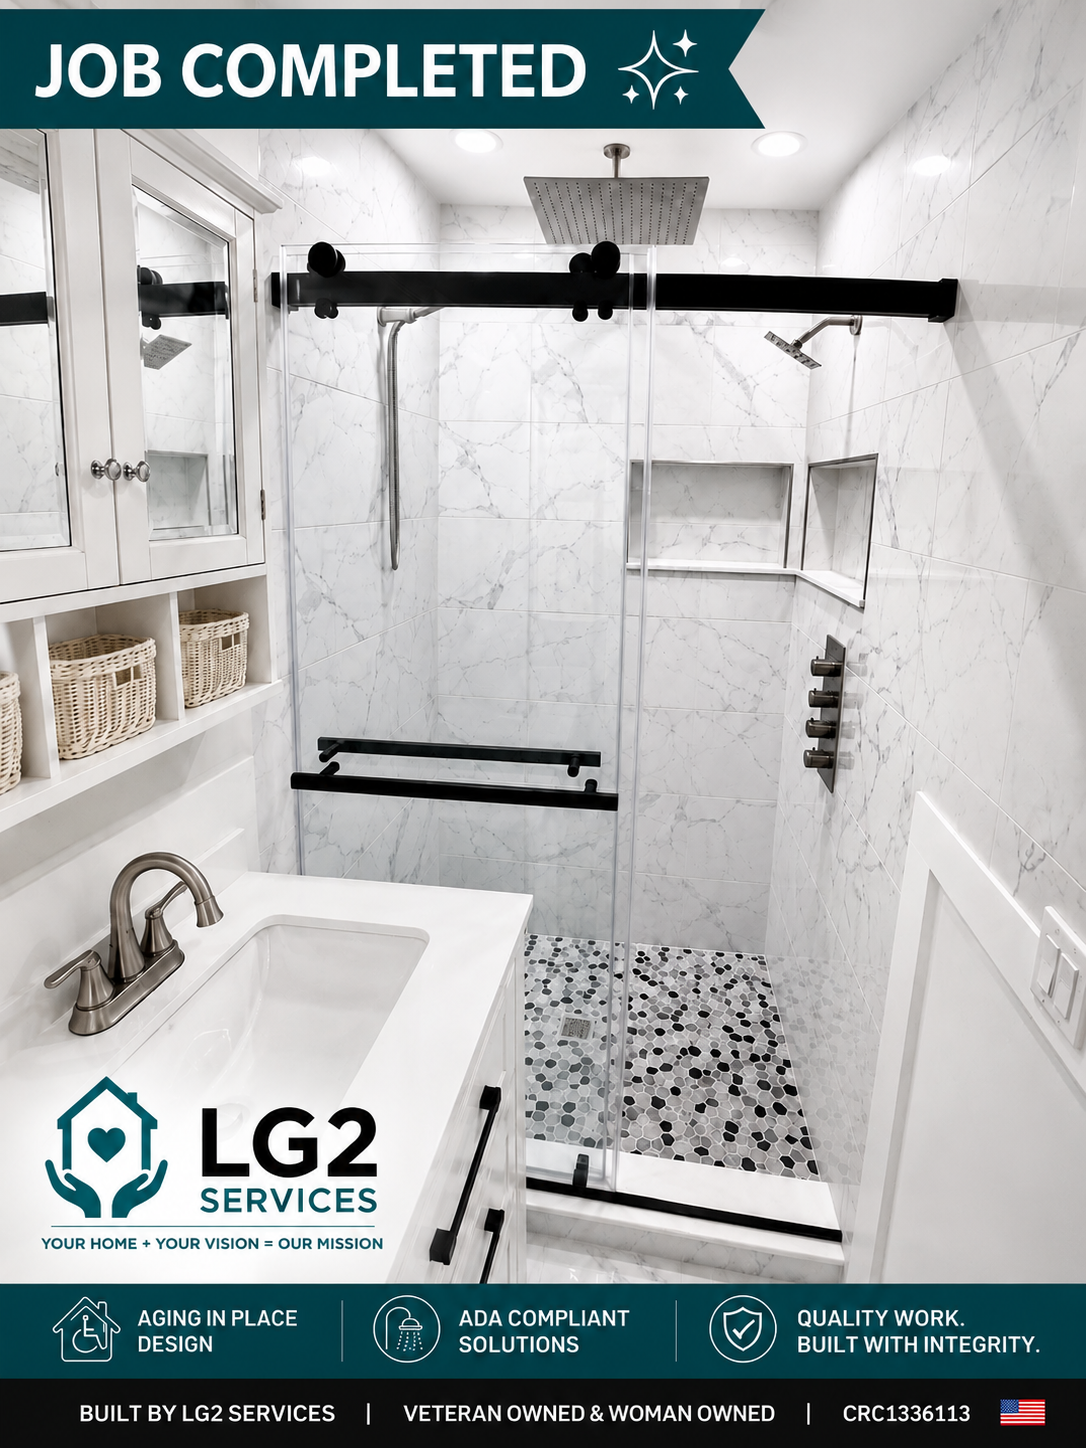
This is the part everyone loves.
What began as an empty space of exposed studs, plumbing, and rough construction is now a finished shower designed around the homeowner's needs and style.
But when we look at the finished product, we don't just see beautiful tile.
We see everything underneath it.
The framing.
The plumbing.
The drainage.
The waterproofing.
The layout.
The craftsmanship.
Because a quality shower isn't built during the final stage.
It's built correctly at every stage.
Thinking About Remodeling Your Shower?
Whether you're updating an outdated bathroom, creating a walk-in shower, preparing your home for aging in place, or designing a safer and more accessible bathroom, LG2 Services can help you plan the project from the inside out.
We proudly serve homeowners throughout Jacksonville and Northeast Florida.
LG2 Services
Veteran Owned • Jacksonville, Florida
Your Home + Your Vision = Our Mission.
